
Embrace the magic of this winter season with these DIY activities that will bring a touch of wonder to your children's days. From crafting your very own snow globe to growing ice crystals and even indulging in some slimy fun, we've got you covered! Here are five winter-themed crafts kids are sure to warm up to.
 Getty Images | Canva Getty Images | Canva |
1. Create Your Snow Globe Wonderland
Kids love snow globes — watching the magic of the little world inside and the twinkling snow as it slowly twirls through the water inside. But what if they could make their own? That would really bring the magic alive! Here is how your kids can make their very own snow globe at home — and you probably already have all the supplies you need right on hand!
What you need: Cleaned wide-mouth glass jar with lid • Glitter • Small figurine • Water
Directions: Glue a small figure to the inside of the lid. Fill jar with water and sprinkle in glitter. Screw lid on tightly. Turn upside down, shake, and watch the magic happen!
 Laura Miller | Macaroni KID Appleton-Waupaca-Oshkosh, Wis. Laura Miller | Macaroni KID Appleton-Waupaca-Oshkosh, Wis. |
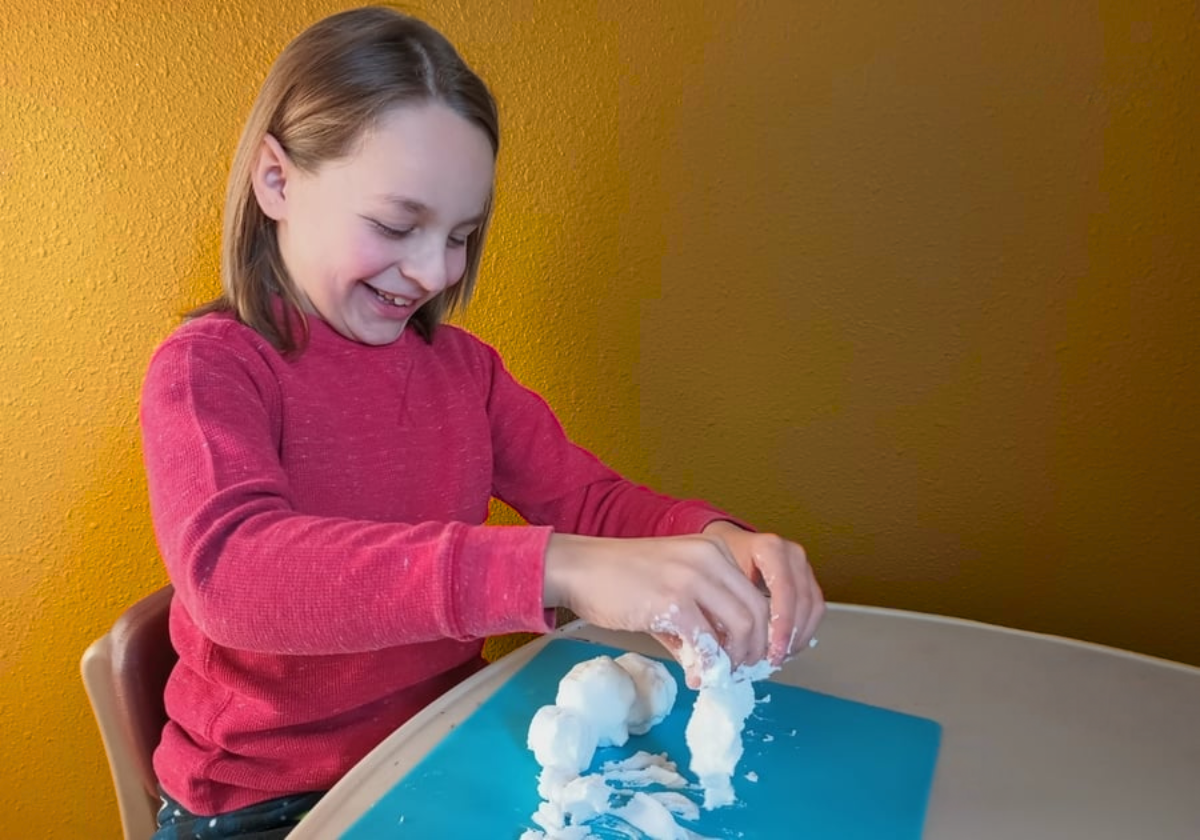
Snow fun! Make your own snow
Making homemade snow is a fun and easy way to add a little bit of winter magic to your day, no matter what your weather is outside! Making fake snow is great for sensory play. The cool and soft texture of the snow can be calming and soothing for children, especially if they’re feeling overwhelmed or stressed. Plus, it’s an excellent opportunity for kids to use their imaginations and explore their creativity.
What you need: 2 1/2 cups of pure baking soda • 1/2 cup white hair conditioner
Directions: Mix 2 1/2 cups of pure baking soda with 1/2 cup of white hair conditioner in a large bowl until the ingredients are well combined.
 Lacie Dooley | Macaroni KID Lacie Dooley | Macaroni KID |
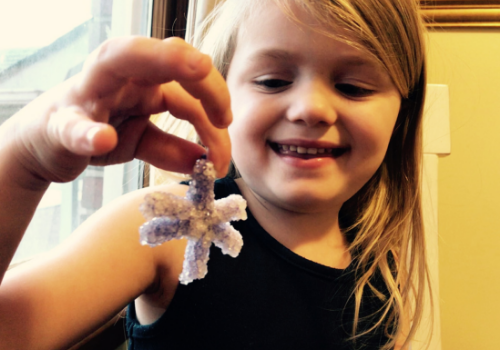
Grow your own crystals, Elsa-style
Growing your own ice crystal at home is super easy — and is sure to wow your kids, no matter how old they are. Plus, you're sneaking in a science lesson! You need just a few common household ingredients in order to go all Elsa and grow your own ice crystals:
What you need: 6 Tbsp borax powder • 2 cups water • Glass jar • Pipe cleaners • Clothespin
Instructions: Boil water. Make a pipe cleaner "snowflake" by cutting two pieces of pipe cleaners approximately 2 inches long and twisting together. Twist the rest of the pipe cleaners on in any kind of shape you'd like. Leave one side of your pipe cleaner creation long and attach the clothespin. Add the borax powder to the jar. Pour the boiling water into the jar. Immediately lower the snowflake into the solution, using the clothespin across the top of the jar to keep it from falling in.
Have your kids observe the crystal every few hours to see how it is changing, or even consider making a time-lapse video! Your crystal will be "done" in about six hours. The longer you let the snowflake sit in the solution, the more crystals will form.
 Iuliia Trabanova | Canva |
Get winter slimed
Is there ever a wrong time for slime? Absolutely not, if you ask our kids. This slime is a little different as it comes out nice and fluffy — just like a beautiful winter snowfall. Use any food coloring color your kids like, then add some winter-themed confetti or beads for seasonal fun — without the freezing temperatures.
What you need: 1/2 cup white glue • 3-4 cups unscented shaving cream • Food coloring • 1/4 tsp baking soda • 1 Tbsp saline contact solution • Winter-themed confetti, beads, glitter, etc.
Instructions: Combine 1/2 cup white glue and 3 to 4 cups shaving cream in a large bowl. Mix well. Add a few drops of food coloring. Stir to mix in the color. Stir in 1/4 tsp baking soda. Add 1 Tbsp. saline contact solution a little at a time while mixing. Keep adding the contact solution and mixing until the slime becomes a ball and is less sticky. If it is too sticky, add a tiny bit of contact solution at a time until it isn't sticky. Stir in your confetti, beads, and/or glitter.
Sarah Hauge | Macaroni KID Englewood-Greenwood Village-Centennial, Colo |
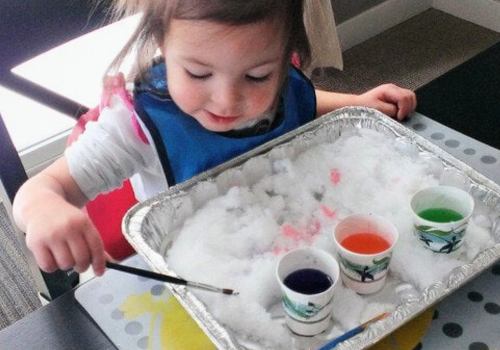
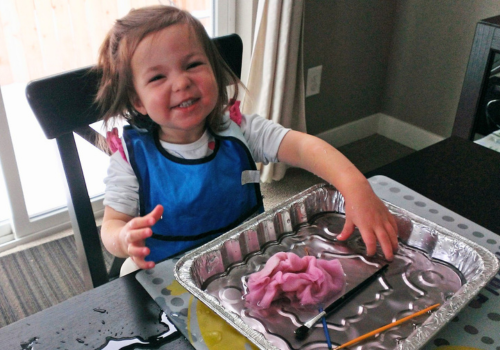
Snow painting: Bring winter indoors
Who says you can't bring the snowy outdoors in? If you're lucky enough to live where there's snow on the ground, try this simple and fun idea from Macaroni KID Englewood-Greenwood Village-Centennial, Colo., publisher Sarah Hauge.
What you need: Snow • Chilled container (to keep the snow from melting longer) • Paintbrush • Cups • Water mixed with a few drops of food dye (or just use watercolor paints!)
Directions: Fill the container with snow. Mix up some watercolors by combining food dye and water. Let your child's imagination do the rest. Once the snow melts, you'll have your very own colored water for extra fun.